Real Estate Photography Tips to Help Sell A Home Faster
Are you aspiring to elevate your career in real estate photography and assist your clients in selling their homes more quickly? High-quality photos in real estate can be a game-changer. Nearly 70% of potential homebuyers admit that captivating images are key in deciding to tour a property. The photos you take are the initial invitation for prospective buyers to explore a home.
Capturing impeccable shots isn’t just about pointing and shooting; it requires the right equipment, technique, and perspective. A well-executed photograph could be the decisive element in clinching a sale.
Delve into 12 actionable strategies to enhance your real estate photography skills, helping your clients move their properties off the market more swiftly. Additionally, we’ll touch upon optimal camera settings and other valuable insights. So, ready your camera, and let’s dive in!
Optimal Camera Settings for Real Estate Photography
To begin, shooting in RAW format instead of JPEG is advisable. RAW provides greater flexibility in manipulating various elements like exposure, contrast, and white balance during post-processing.
For achieving the best depth of field, an aperture setting between F8 and F11 is most effective. While F5.6 and F16 can work, they are generally not recommended as they lie on the extremes of the ideal range.
When it comes to shutter speed, you have more leeway. The shutter speed dictates the duration for which the lens remains open to capture light.
Additionally, using a higher shutter speed will necessitate increasing the ISO value. However, exercise caution with ISO settings. An ISO value that’s too high can introduce unwanted digital noise into your photographs. Aim for an ISO setting below 400 for cleaner, crisper images.
Elevate Your Portfolio with a DSLR Camera
When capturing high-caliber real estate photographs, a DSLR camera is virtually indispensable. Unlike smartphone cameras with limitations, DSLRs offer unparalleled image quality with greater depth and detail. This allows you to produce standout photography that can set you apart from competitors. One of the significant advantages of using a DSLR is the level of customization it offers. To adapt to lighting conditions and environments, you can fine-tune various settings, including exposure and aperture. This control allows you to capture the essence of each property in the most visually appealing way possible.
Upgrade Your Toolkit with a Tripod
Beyond real estate, a tripod is a sturdy base for various types of photography, whether landscapes or architectural shots. It’s particularly useful for achieving long exposures, allowing you to experiment more freely with light and motion in your compositions. Moreover, a tripod adds an element of convenience to your photography sessions. Without one, you could be uncomfortable trying to capture the ideal shot. A tripod frees you from such constraints, allowing you to focus on the artistry of your work while saving you valuable time.
Broaden Your Visual Horizon with a Wide-Angle Lens
Using a wide-angle lens allows you to easily capture the entirety of a room, from one corner to another and from floor to ceiling. In addition to its utility in real estate, a wide-angle lens can be a versatile asset for other types of photography. A wide-angle lens proves indispensable for interior shots where capturing the entire room is imperative.
Scout the Property Before Shooting
Each property has unique characteristics that can help your portfolio stand out, and a preliminary visit allows you to identify these. During your walkthrough, familiarize yourself with every nook and cranny inside and outside the property. Don’t hesitate to take some preliminary shots if you feel it’s useful. You might also discover subtle elements, such as how the lighting affects different rooms or how furniture is positioned, which could easily go unnoticed. Take this opportunity to ensure everything is in its place and identify areas that might require a little sprucing up before the photo shoot.
Embrace Natural Light for Authentic and High-Quality Shots
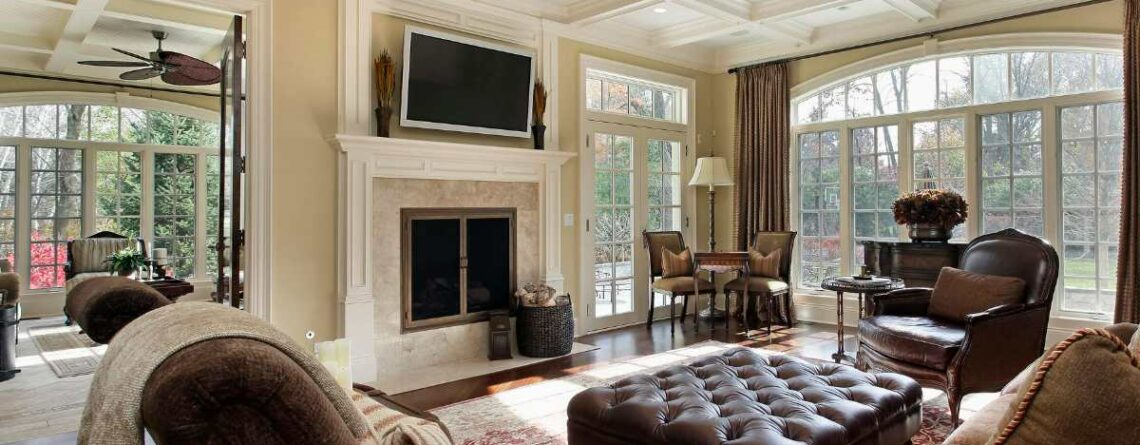
Natural light allows you to capture the property’s colors, depth, and overall ambiance in its truest form, which is hard to replicate with artificial lighting. To maximize natural light, look for suitable light sources around the property, such as large windows. Consider also timing your photo shoot during the ‘golden hour’—that magical period around sunset— to add a warm, enchanting glow to your images. If fitting this specific timeframe into your schedule proves challenging, don’t fret. You can still create that sought-after twilight ambiance through post-processing adjustments.
Unleash Your Creativity with Indoor Lighting
While natural light is invaluable, don’t stop experimenting with the indoor and outdoor lighting fixtures available on the property. Switching them off can yield a balanced, natural ambiance while keeping them on can infuse your photos with warmth and comfort. Regardless of the lighting approach you choose, it’s important to remember that you’ll likely need to adjust the light temperature during the editing phase. Fine-tuning these details in post-processing ensures that you maintain the desired mood and ambiance, elevating the overall quality of your real estate photos.
Capture Every Perspective
This approach provides various perspectives, lighting conditions, and contexts, enhancing the likelihood of capturing that perfect shot. Don’t limit yourself to just one angle; make it a point to move around the room. Crouch down, step up or rotate to different corners to explore various vantage points. Doing so not only enriches your portfolio with diverse and intriguing images but also enables you to capture a room under various lighting conditions, offering a multi-faceted look that could be compelling to potential buyers.
Incorporate External Flashes for Enhanced Lighting
Standard built-in flashes often fall short when delivering professional-grade, evenly-lit photographs. An external flash can significantly elevate the quality of your images. Take, for instance, the Canon Speedlite 430EX III-RT. This compact yet powerful flash unit provides exceptional performance, making it a convenient and effective choice for various shooting conditions. Adding such an accessory to your toolkit can be the difference between average and outstanding real estate photographs.
Elevate Your Portfolio with Aerial Photography
Drones have emerged as a groundbreaking tool in real estate photography, allowing you to capture breathtaking aerial shots. These high-flying devices offer unique and captivating angles of the property and can also give potential buyers a bird’s-eye view of the surrounding neighborhood. Safety is paramount when using drones for photography, especially in populated or restricted areas. Utilize apps to check for airspace limitations based on your geographical location.
Pay Attention to Horizontal and Vertical Lines
Meticulous attention to detail is crucial to capture an impeccable real estate photo. Particularly when shooting interiors or exteriors, it’s essential to ensure that all horizontal and vertical lines are straight. These lines serve as key elements that can make or break the composition of your photo. While minor misalignments can be corrected in post-production using editing software like Photoshop, it is best to get it right in-camera for a more natural and flawless finish. Keeping your lines straight will elevate your photographs’ professionalism and aesthetic appeal.
Leverage Virtual Staging for Vacant Properties
Statistics show that vacant homes often sell for less and linger on the market longer than staged or virtually staged ones. It transforms a space into an inviting living environment, unlocking the property’s full potential. One of the advantages of virtual staging is its ease of use and cost-effectiveness. Since it’s a digital process, there’s no need for actual furniture or décor, eliminating the expenses and logistical headaches associated with traditional staging. This aids them in making a more informed decision about the property’s suitability for their needs.
Never Underestimate the Power of Photo Editing
Photo editing is a step in the real estate photography process and should never be overlooked. Even the most skillfully captured photos can benefit from a little post-production magic. Editing allows you to correct minor imperfections, adjust lighting and color balance, and enhance the overall composition of your images. Whether straightening a crooked horizon, removing unwanted distractions, or fine-tuning the hue and saturation, post-processing can transform a good photo into a great one. By investing time in this final step, you can elevate the quality of your portfolio, impress your clients, and make your listings stand out in a crowded marketplace.


LEAVE A COMMENT